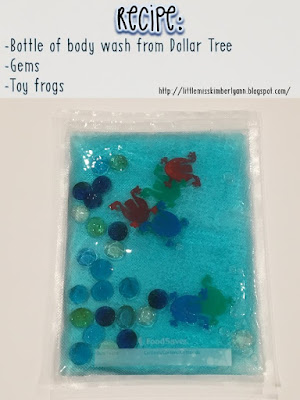
 My students love anything that involves sensory play! However, I have some students who can easily break the sensory bags made with Ziploc's. I follow an amazing Instagram account called SENteachingideas, and she posted about how she uses laminating pouches for sensory bags. That idea sure got my wheels turning! I ended up making sturdier sensory bags using vacuum sealing pouches... I won't dare call them indestructible, but we've used them for more than 2 weeks at ESY and they've lasted through a lot!
Here's a short tutorial how to make them:
1) Gather your supplies:
-Some kind of vacuum sealing machine (I used a FoodSaver vacuum sealer)
-Vacuum sealing bags/ pouches (I used these)
-Liquid fillers
-Hard fillers
2) Fill the bag with your liquid of choice.
3) Add fillers of your choice.
This blog post from PracticallyFunctional has some fun filler ideas!
4) Start vacuuming and sealing!
Now it's time to vacuum seal! I didn't let the FoodSaver vacuum out all of the air (I just stopped it and sealed it right before all of the air was out of the bag). Then I did a second seal for extra reinforcement! ;)
Sensory bag ideas:
This blog post from Familyicious has a TON of awesome sensory bag filler ideas that you could make with a vacuum sealer! What are your favorite sensory bag fillers?!


