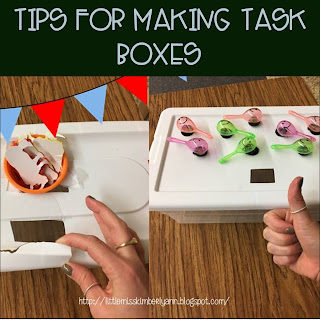
I've had a few questions/ comments on some of my task box posts, so I wanted to share some of my responses, tips and tricks!
1) If you're cutting the lid, DON'T use the boxes from the Dollar Tree!
If you are going to cut the lid for "put in" or level 1 tasks, make sure you don't use the shoe boxes from a dollar store. Instead, get the Sterilite shoe boxes (they're still only $1.00, or less if you get them on sale). The lid on Sterilite shoe boxes is a lot thicker/ sturdier so it cuts waaay better! The lids from the Dollar Tree normally crack and split, but the thicker lids don't!
 |
| Look at the horrible crack on the left (Dollar Tree box) and then look at the perfect hole on the right (Sterilite box). |
When cutting the lid, I start by using a Sharpie to mark how big of a hole I need to cut. Then I use a utility knife like this to cut the lid. You can normally get a really clean line with a good knife!
3) Storage tip: Create an organizational system to save space.
Save space by using one box for multiple put-in tasks. You can group like sized objects together and then cut a hole in 1 box that will fit all of the different objects. Store objects in ziplocks and then change them out every couple of days. This saves space of having tons of boxes and the money of buying tons of boxes!! Win win!
 |
| All of the manipulatives in the baggies fit into the whole in the box. Manipulatives can be switched out so kiddos don't get bored! |
Here are a few other views of how we store task boxes.


