I don't consider myself a tech wizard or expert by any means... I've had to spend hours watching YouTube videos and searching online for how to make materials for online learning. Through this whole online learning journey, I've started using Google Forms™ as a way for students to answer comprehension questions and to collect data. So I'm here to share a simple tutorial for making Google Forms™ to use with students.
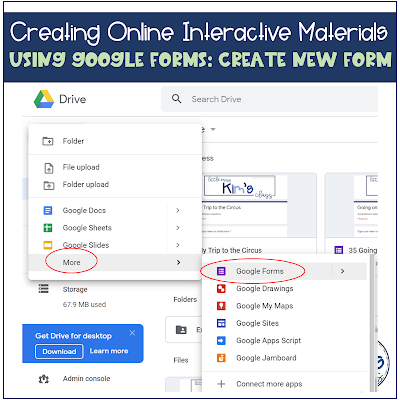
1. Go to your Google Drive™ account. On the left, click "new." Then go to "more" and click "Google Forms™." A new form will populate.
2. Start editing the form. You simply just need to click and start typing! There are a variety of different question options you can create (short answer, long answer, multiple choice, drop down, etc.). I like multiple choice the best because it allows you to give students answer options. Click the "+" button to add more questions.
3. If you're doing multiple choice, you can even add pictures to your answer options! This is great for young learners or learners who benefit from pictures! You can add images that you have saved on your computer, images from links or find images online. Make sure you are following copyright laws (this is especially important if you are planning to sell/ share your Google Form™).
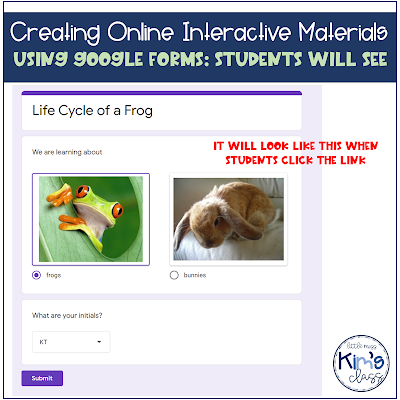
4. It will look like this once you add images to your answer options. Don't forget to add a way for students to add their name on the form. You can do a drop down option or short answer for students to type their name or initials. Make sure you're mindful of confidentiality with this! You won't want to put all of your students' names on a drop down option if other students/ families will see it.
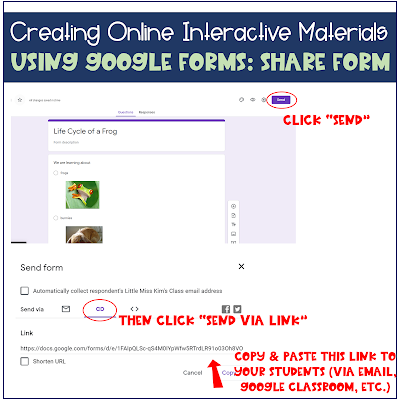
5. Once you add all the questions you want to your form, click "send" at the top right side of the screen. Then click "send via link." Copy this link and paste/ send to students. You can send via email, Google Classroom™, etc.
This is what it will look like when students click the link you send them:
6. Once students complete the form/ answer the questions and you're ready to look at the data, open the Google Form™ from your Google Drive™ account. Then click "responses" at the top. All of the responses will pop up, you can even click the little green square to open a spreadsheet with all of the responses.
There are SO many options for using Google Forms™ during remote/ online learning. It's simple to set up, easy for students to use and is an awesome way to track engagement and collect data. If you're already using Google Forms™, share your ideas and tips below!
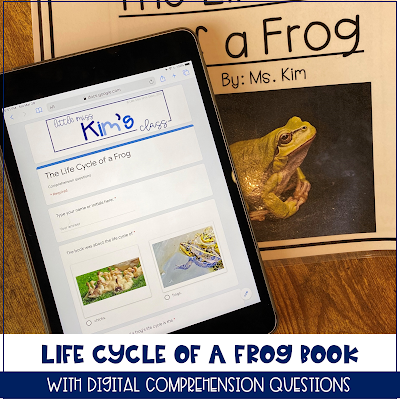
If you want to try a free pack that includes digital comprehension questions, check out this FREEBIE.


